Ceiling speakers can be the ideal addition to your leisure area, whether it be an at-home movie theater, a DJ booth, a gaming studio, or even your study if you enjoy listening to music while you work.
It’s not rocket science to connect the receiver to the overhead speakers. I will walk you through each stage so you can establish and complete the connection without strain. Connecting your ceiling speaker to a receiver may seem easier to complete if you are an electrician. This article explains how to connect ceiling speakers to receivers.
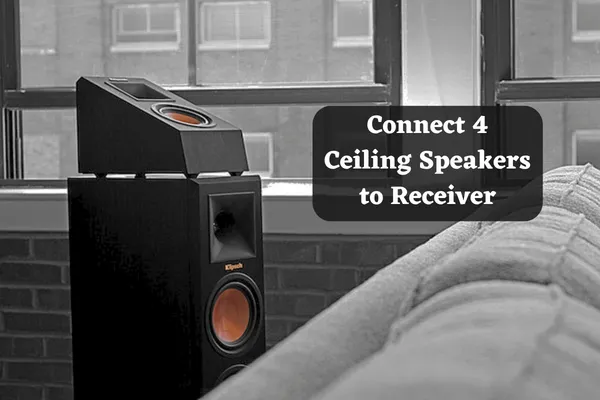
5 Steps To Connect 4 Ceiling Speakers to Receiver
If you have already put and set up your speakers on the ceiling, you should take the time to learn how to connect them to the receiver. Here are the steps for how to wire ceiling speakers to amplifier:
1) Identify the Proper Speaker Position
Choose the best location to install the speakers once you have the necessary equipment and safety precautions. Ensure that the ceiling speakers are to the left and right of the receiver position, closer to the hearing area. Place the speakers behind the listening area if you prefer to surround music.
2) Developing Speaker Openings
After deciding where to position the speakers, mark a hole in the ceiling with the speaker’s cardboard insert. Cut the region you just traced with the drywall saw. Ensure no obstacles in the chosen location, such as cables or pipes. Clean up the region and remove the drywall fragments.
3) Connect the Speakers with a Cable
From the receiver to the first speaker, run the speaker wires using fish tape. Continue by using the second wire. Determine if shielding is necessary. Once the cables reach the ceiling, use wire strippers to remove the insulation and reveal the copper wire.
Pay attention to the polarities of the output and input channels as you attach the cables to the receiver and the speaker on the other end. Verify that the wires are securely secured.
4) Install the Speakers
Read the manufacturer’s manual before putting the ceiling speakers in the holes. It is because makers occasionally offer specific directions to help with installation and prevent incorrectly damaging or placing the speakers.
Using the Philips screwdriver, tighten the fasteners. Don’t overtighten the screws because you might eventually need to modify the speakers. To attach the second ceiling speaker, follow the same steps as before.
5) Seal and Paint
Seal the gaps around the speakers with tape after securely fastening them to the ceiling. You can also paint the space to add finishing touches and style. Some makers allow customers to paint the ceiling speakers to blend seamlessly with the wall and ceiling for added glitz and to match the room’s décor.
How To Connect Ceiling Speakers to TV Without Receiver?
If you want to connect ceiling speakers to the tv without any receiver. Simply attach the AUDIO OUT to the HDMI port on the TV. After that, attach the speaker to the amplifier using the output connection.
The two-channel amplifier behaves in the same manner as a receiver if you think about it, so there isn’t much of a difference in connection. It recommends checking the power of both the TV and the speakers because the amplifier can only handle a limited amount of power.