Headphones are getting wireless, but niche users like gamers still prefer wired models. Although these headphones provide high quality and fewer sound delays, they are prone to get disconnected due to wire damage. In such cases, it becomes essential to know how to repair headphone wires to make them functional again.
Most people throw away broken headphones and get new ones, but they may not know they can repair these damaged headphones in less than 30 minutes. One only needs to get familiar with the problem and use the right tools. Here I am sharing some methods to help you repair headphone wires, so stay tuned!
How To Repair Headphone Wire At Home?(6 Key Tip)
Do this in a controlled environment and clear the space before starting work. The following steps are helpful to finish the process of repairing the headphone wires at home.
Before starting, get wire strippers or other devices like knives, nail clippers, etc. A solder, soldering iron, shrinking tube, and sandpaper.
Once you got the tools, start the process:
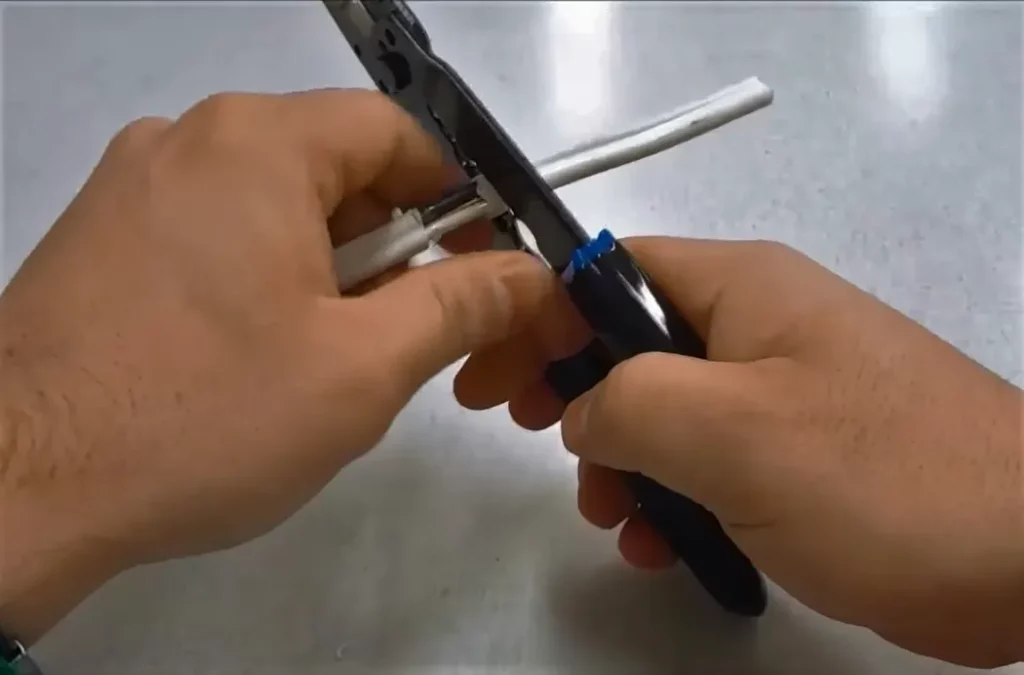
1) Strip the wires
Strip the wire with the help of a wire stripper or knife. Do it carefully to avoid any extra cutting. Pull at least 1/4 to 1/2 inches and remove the insulation on wires. Separate the wires by colors like green, red, and copper. The in-insulated wire is the ground, and the colored wires transmit the sound.
2) Slip on Shrink Tubing
Before twisting the wires together, slip on the Shrink Tubing.
3) Sand the Wires Down
The color wires have a thin insulation coating, and it is vital to remove this insulation before soldering. Sandpaper is the best option; sand away until the copper wires become visible. Now sand away the insulation from all wires.
4) Twist and Solder
Twist the wires together, and you can separate the ground wire, but it is your preference. Put a thin layer of soldering on the wires after twisting them.
5) Cover With Electrical Tape
After soldering the wires, cover them with electric tape. Keeping them touching each other or ground is essential to avoid any short-circuit. Cut a small piece of electric tape and wrap it on individual wires. Cut out the excessive tape.

6) Shrink Wrap
Slide the shrink tubing back on the electric tape and heat the area with any heat source or soldering iron until it gets nice.
How To Fix Headphone Wires Without Soldering?(8 Simple Methods)
Use an AUX cable to fix your headphones. Use a cable for any old headphones; follow the instructions below.
1) Remove All Insulators
Remove the insulation on the wire with a stripper and disclose the stripped wires. Be careful, and don’t harm the wires.
2) Disconnect All Wires
Separate the headphone wires; usually, the wires for the right side are red, and the wires for the left side are blue and green, while the copper or gold wire is ground.
3) Melt off the Coating
Melt the coating with lighter or varnish sandpaper is also a good option. Use any material to make the wires visible.
4) Disconnect the Wiring
Twist the colored wires and separate them from the ground wire with electric tape.
5) Select Heat-Shrink Tubing
Use any plastic material like PEP, PVs, or polyolefin, as they are best for making a heat-shrink tube. Choose any of them according to the size of the headphone wires.
6) Clean Wrapping Area
Clean the warping area with a cloth and eliminate excessive trash or grease.
7) Place the Tube
Place the tube on the affected area and wrap it for an excellent compact finish.
8) Apply heat to the warping area
Heat the wrapped area with any heating device, and don’t overheat the tube because it can catch fire and melt. Save your fingers from the heat and use pliers for this purpose.
How To Fix Broken Headphone Wire Near Jack?
If your headphone cable breaks out near the jack, follow the steps below to repair it.
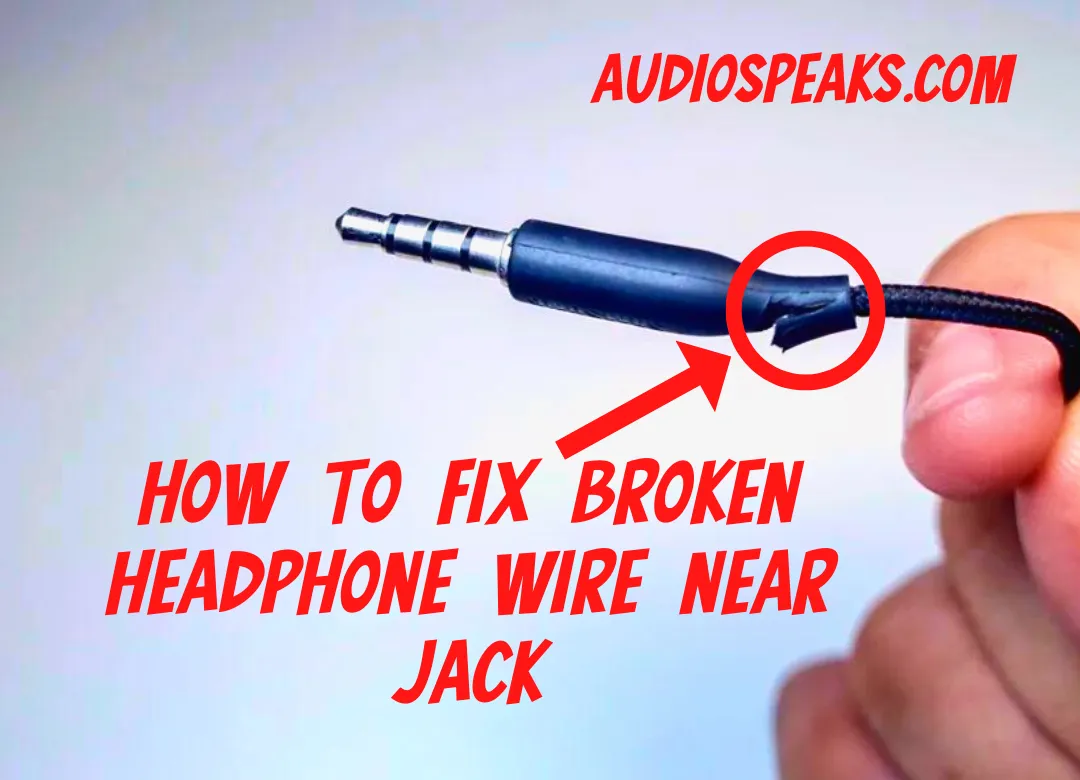
- Cut the damaged cable right above the damaged part
- Strip the wire carefully.
- Get a wire from any old headphones and cut out the missing section.
- Strip the donor wire.
- Make a connection between the wires by twisting them and soldering these matchings.
- Cover these connections with any electric tape.
- Your headphone is fixed!
How To Repair Headphone Wire Insulation?
It is pretty easy to repair the headphone wire insulation. Use Mouldable Glue for new insulation. It is one of the best for electrical repairs due to its flexible, waterproof, moldable, and long-lasting quality.
Follow the below steps for repairing headphone wire insulation.
- Clean the wire and remove any dust, oil, and debris. Use a small amount of isopropyl alcohol and clean it with a towel.
- Let the area dry after wiping it down.
- Use Mouldable Glue, such as play dough, and wrap it around the wire with your hands.
- Let it dry for about 30 minutes so that glue will set properly.
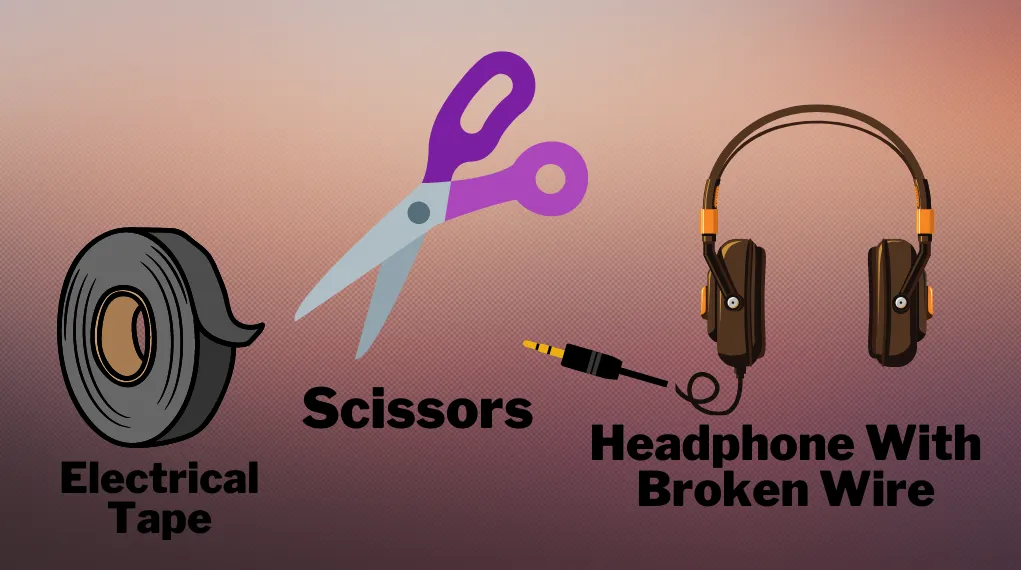
How To Fix Headphone Wires With Tape?(6 Easy Steps)
Before starting the process, you should have lighter, coiled electric tape, sandpaper, and cutters for wires.
Locate the specific part that requires any fixes.
1) Cut the Wires
Cut the wires and separate them. If the copper wire is visible, then the process is simple. Cut right above the broken part with a cutter or knife. There are two different headphone cords.
2) Remove the Insulation
Remove the insulation from wires after cutting and find the central problem regions. Separate all the wires so they will not contact each other. Make sure that the copper and red wires are at the designated locations. Remove insulation to make the area more manageable.
The red and green cables are responsible for conveying audio. You will not get audio if the wires touch each other.
3) Remove the Wire Coatings
Once you separate the wires, burn the coating on the wires. Use a lighter for seconds to melt the coating. Sandpaper is also a good option for removing the coating because it is safe and easy. Repeat the same process for all wires and make their copper visible.
4) Reconnect the Wires
Twist the wires from all sides of the cable and keep them twisting until they attach. But make sure that there is no chance of detachment. Repeat the same procedure for the copper wires and reconnect them on designated spots.
The green or red and copper wires mustn’t come in contact when you work. If they attach, you may not be able to fix the cables. If you ignore this point, your headphone will short-circuit when you use them.
5) Apply Electrical Tape to The Wires
Cover all of the repairing parts of red wires with electrical tape so they will not attach, and recheck that the wires will not interact with copper wires. After covering the individual wire use electric tape to cover the entire area, and don’t leave any wire exposed.
Repeat this technique if the headphone wire is from more than one place.
6) Test the Headphones
After finishing the process, check the cables of your headphone. They will start work without any issues. Now it’s time to attach them to any audio source and see whether they work. If they work, you did it!

Replacing headphone wires do not requires special assistance. You can replace them using heat shrink tubes, cable saves, and electric tapes. Just cut the wire where it requires replacement, join them properly after removing the affected part, and use molding glue to fix the joint together.
If only one side of your headphone is working, then straight up the cord of your headphone. Use another pair of headphones to check the source. Properly clean the jack of the headphone and remove all dust and debris. Check out the audio settings of the audio source. In the end, check all the wires and ensure they will not damage.
Unplug your headphones, re-plug them to your audio device, and ensure that the connection is proper. Also, ensure that the connection is not loose. If there is more than one headphone jack on your device, check if it connects to the microphone jack or audio-in; if it does not, plug it into its compatible jack for sound.
Yes, it is possible to repair the headset only using electrical tape. It can insulate damaged wires. The primarily black colored tape will use for the low voltage electric wires so that you can use it for a quick repair.
All broken headphones don’t require immediate disposal or replacement. You can repair them and resolve issues with some patience, and a little effort can fix issues from damage to frayed headphones. I hope this guide proved very helpful for you to try various ways to repair your beloved earphones or headphones. You can use the methods given above if your headphone requires repair. All methods are beginner friendly, but there is only a need for patience and specific tools.
Final Words